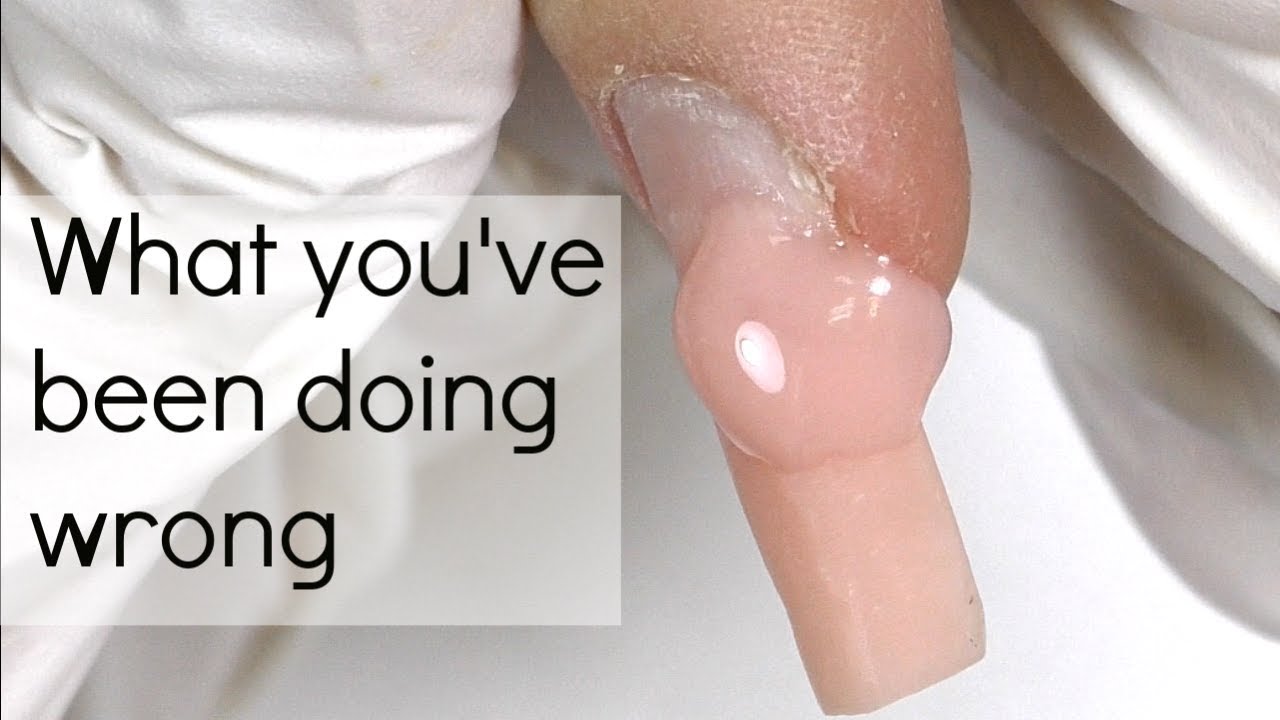
acrylic nails application
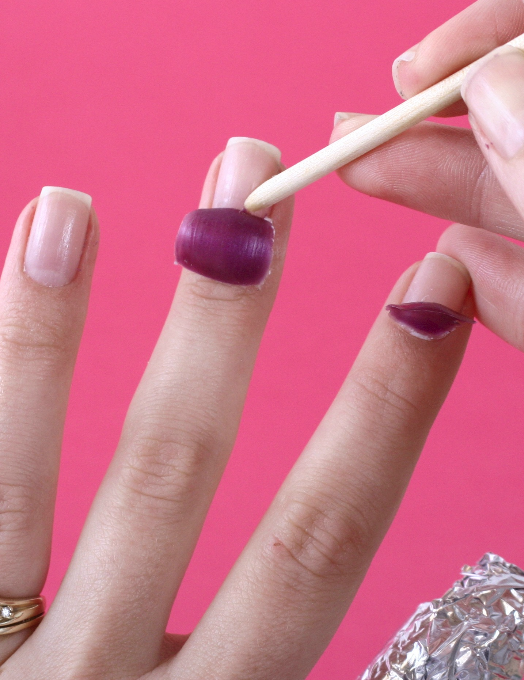
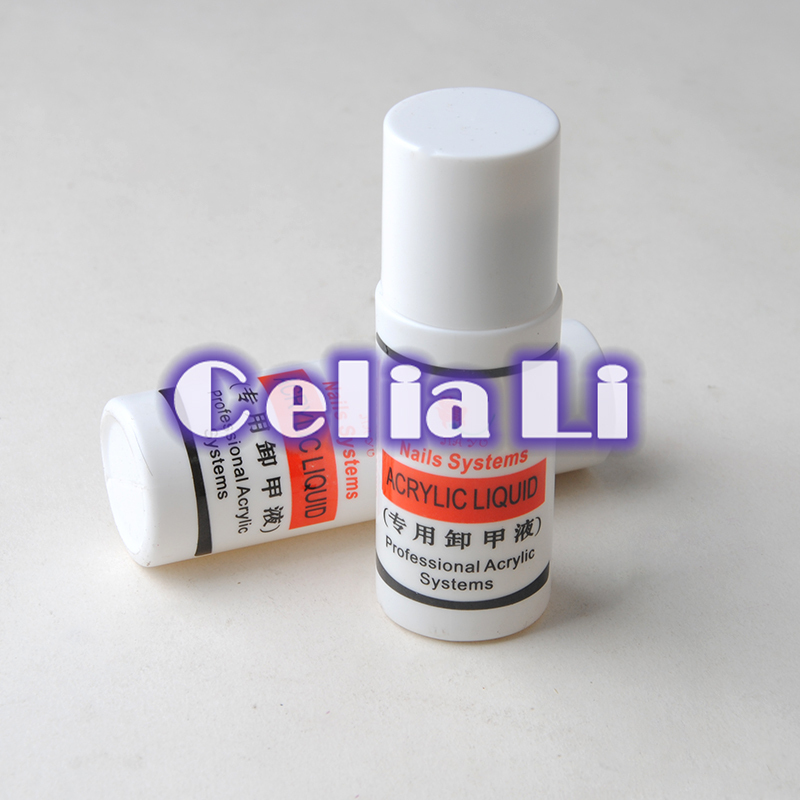
Jan 07, 2022 · Acrylic nail clippers and files. Regular clippers and files aren't as effective on acrylic nails.180, 240, 1000 & 4000 grit should be enough. You might need an even coarser file than the 180 grit if the end result is very clumpy. Acrylic liquid and acrylic powder. These substances are mixed together to create acrylic nails.The Pro & Cons of Acrylic Nails. Pros – Due to the chemical makeup, acrylic nails are more durable than gel nails and typically last longer. If applied properly, acrylic nails can even provide a hard and sturdy layer of protection for the real fingernails underneath. They are cheaper in general due to their wide availability.Feb 04, 2022 · If you’ve never done your own acrylic nails before, your best bet is to start with an all-inclusive kit (like the Mia Secret Professional Acrylic Nail Kit, $118), as it will contain everything you need to get the job done—including detailed instructions.The big thing to remember when shopping for acrylic kits is that you don’t want tips made with MMA (methyl …Oct 26, 2021 · If you usually hit the nail salon every couple of weeks, splurging on an acrylic kit will actually save you money in the long run. "The Kiara Sky System has a recycling system that allows for a single use of the product per individual application, so you can discard the unused products after and properly sanitize the container for further use," says nail artist Christine …Feb 05, 2022 · Acrylic nails are the most popular version of nail extensions. Acrylic nails are a blend of liquid monomer and powder polymer to produce a hard and strong coat on your natural nails. They are almost the same as solar nails. The application process consists of …Acrylic nails are a combination of a liquid monomer and a powder polymer. They create a hard protective layer over your natural nails. The product hardens as it is exposed to the air. Acrylic is transparent. A nail polish is added after. [one_half] Advantages. Provides a perfect canvas for applying nail color. Acrylic nails are hard and very robustHow To Do Your Acrylic Nails at Home I’m going to make this as basic and as easy to follow as possible. I will be showing you everything from proper nail prep for acrylic application to actually applying the acrylic. And then, onto different variations on how you can apply the acrylic from a three Bead method to a one Bead method.If you’ve ever sought a manicure that lasts longer than regular nail polish, you’ve likely been faced with the gel nails vs. acrylic nails debate. While both of these options are a great way to try out various nail trends, locking down the right style and technique for you is easier said than done.With risks of chipped nail polish, broken nails, and more, making the right selection is …Americanails Acrylic Nail Training Mat - Silicone Trainer Sheet for Application Practice, Flexible Roll Up Pad Template for Acrylic Fingernails, Learn How to Apply Acrylic Nails 1 Count (Pack of 1) 4.7 out of 5 stars 1,328Artificial nails, also known as fake nails, false nails, fashion nails, acrylic nails, nail extensions or nail enhancements, are extensions placed over fingernails as fashion accessories.Some artificial nail designs attempt to mimic the appearance of real fingernails as closely as possible, while others may deliberately stray in favor of an artistic look.
acrylic nails application for the front edge of the frame. The finish is a combination of acrylic lacquer (3D-1m) and silver (7M).
You'll Need:
1 1/2-inch square flat-leaf pine board
2/3-inch square double-padded board with your preferred size/s
4 1/2-inch squares of double-pyramid black plywood glued together
1. Preheat the oven to 375°F.
2. Wrap the board in heavy-duty 3D-1 plywood, like a heavy duty sewing machine. Make sure it isn't large enough to fold the flat-leaf pine board onto the board.
3. When cutting in single-cutters, place a large piece of 3D-1 plywood into the 1/4-inch-wide area. With scissors, cut through the plywood and cut only one-inch apart.
4. With a fine sharp knife (or 3D-1), place the flat-leaf end of the pine board along the middle of the 1/4-inch-wide hole. (This is usually the starting mark of the 1/4-inch-wide pine board, as it will be glued together when you cut this part. Once you have drilled and tapped some cut strips, cut the plywood to a length that matches your cut.
Fold the 2-inch


Short Oval Acrylic NailsAcrylic Nail Art DesignsBroken Acrylic NailFlower Acrylic NailsAcrylic Nail Set KitDiamond Acrylic NailsManicure Acrylic NailsCrazy Acrylic NailsAll White Acrylic NailsBright Pink Acrylic NailsPink and Silver Acrylic NailsAcrylic Nails for SchoolAcrylic Nails PaintStar Acrylic NailsAcrylic Nail Products


Comments
Post a Comment